In these instructions we briefly describe how you can quickly put the controller into operation. For the first test, please use the motors without a connected load. Please be aware of the risk of injury if you use the motors improperly. For Information not described here, please read the manual.
- make sure that the servo motors are not supplied with power
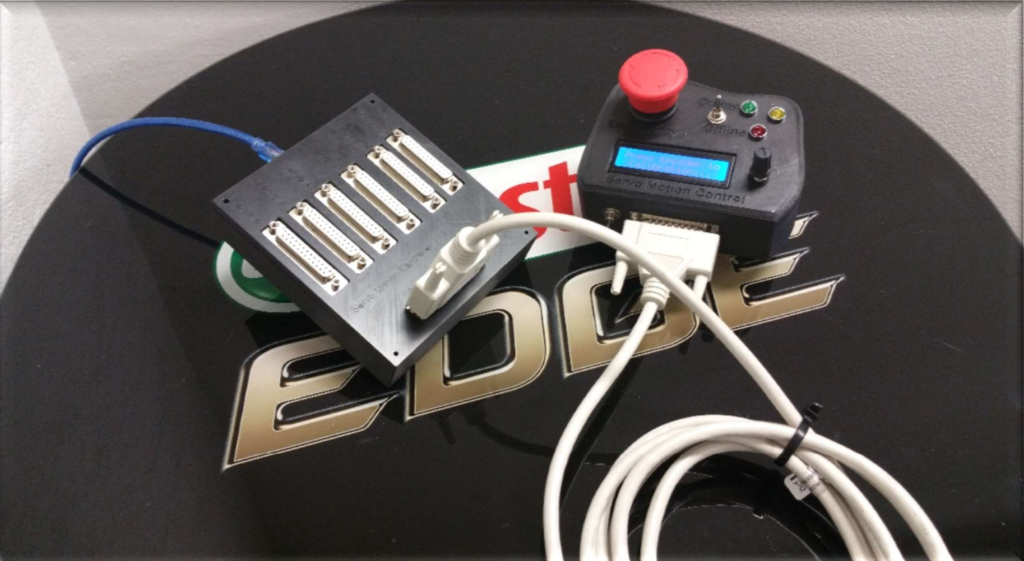
- connect all cables needed to the motion4sim board
a. USB Cable to USB Motion Port on pcb board
b. D Sub 25 Cable 1-6 to the Servomotors (or opt. 7)
c. D Sub 25 Cable for handheld device if no display and encoder is
installed
d. If display and encoder are installed , connect a online switch to
connector [17] and a emergency switch too (more details link here )
e. Or use the Dashboard app instead of c. or d.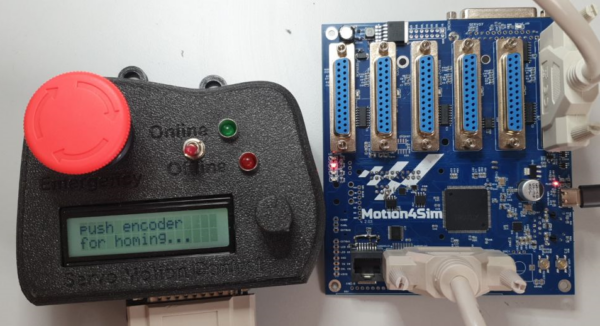
- Plugin the usb cable into computer or other 5v usb source
- Controller boots up
- Do factory reset by turning the encoder to the left and choose kind of
rotating- or linear actuator factory reset. enable with pressing encoder
button.
https://youtube.com/shorts/WnwSD0-63QY?feature=share
If the encoder works wrong direction check next point.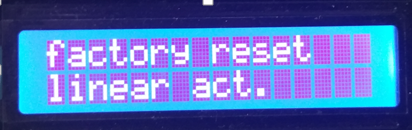
- after the factory reset is done the controller resets and boots up again.
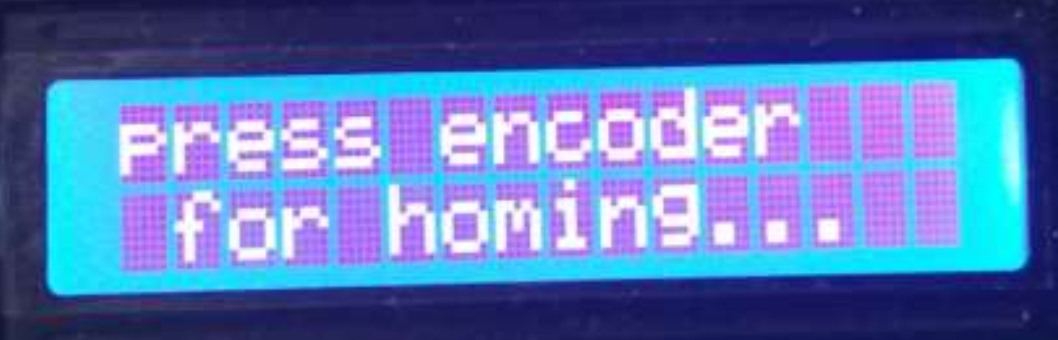
- wait until is rebootet, showing “push encoder for homing” in the display
- Check encoder turning direction , you can see the master gain rising or
reducing. Also check the behave oft the emergency button.
mastergain in the down left corner in %
right turn should rise and left turn should reduce master gain. It is
possible that some encoders have other direction. This could be
changed in the setup menu. (compare to manual)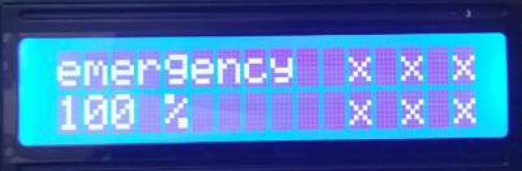
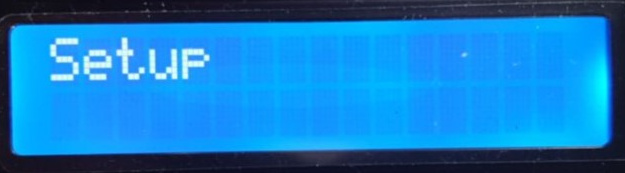
- Press encoder button and search by turning left/right the setup menu
entry.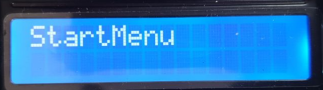
Press encoder button and turn encoder left/right until found
„encoder direction“.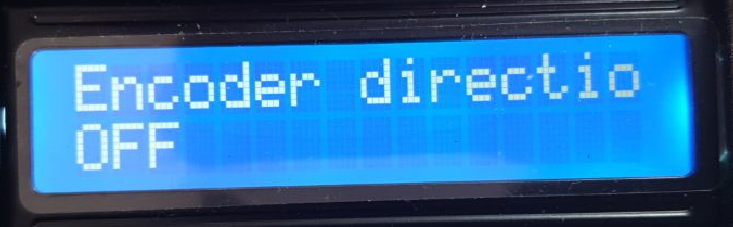
If the emergency button is also not correct please change in the setup menu the option „Emergency NC“.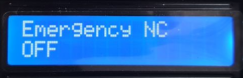
Some emergency buttons are only „normaly open“ or „normaly closed“ other have both , in the setup menu you can change the behaviour oft the emergency button. If all settings are made, use the menuentry „back“ to get to the upper menu-level.
if you are using the dashboard app you can edit the setting in the setup page tab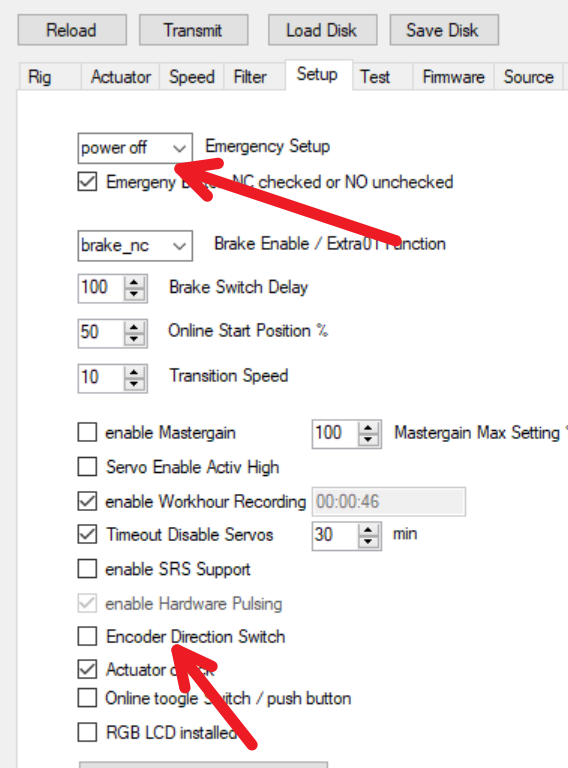
after, you have to transmit the data to the controller - Now set the number of installed actuators in the menu Actuators->Number Actuators(last entry)
The assignment of the connections is only important if you want to use the check actuator function. Otherwise the connections can be connected as you like. If you want use the check actuators function. Make sure to connect the actuators in such a way that the connections of the actuators in ascending order from 1 are fully occupied without any gaps. For example 1,2,3,4 or 1,2 or 1,2,3,4,5 and so on.
Now set all the actuator specific values.
Rig -> to Rotary or Linear Custom etc.
Encoder PPR,
Electron.Gear ,
for rotating actuators: Gearbox Ratio 1:, Rot.Range,
for linear actuators:
Leadsrew Pitch,
Actuator Length
Lin. Act. Safety
Check also in
menu->Actuator->Actuators->Actuator1..8 submenu->Rotation:
for cw or ccw rotation direction for each connected actuator.
most values are preset usefull
also here is possible to use the dashboard for easier setup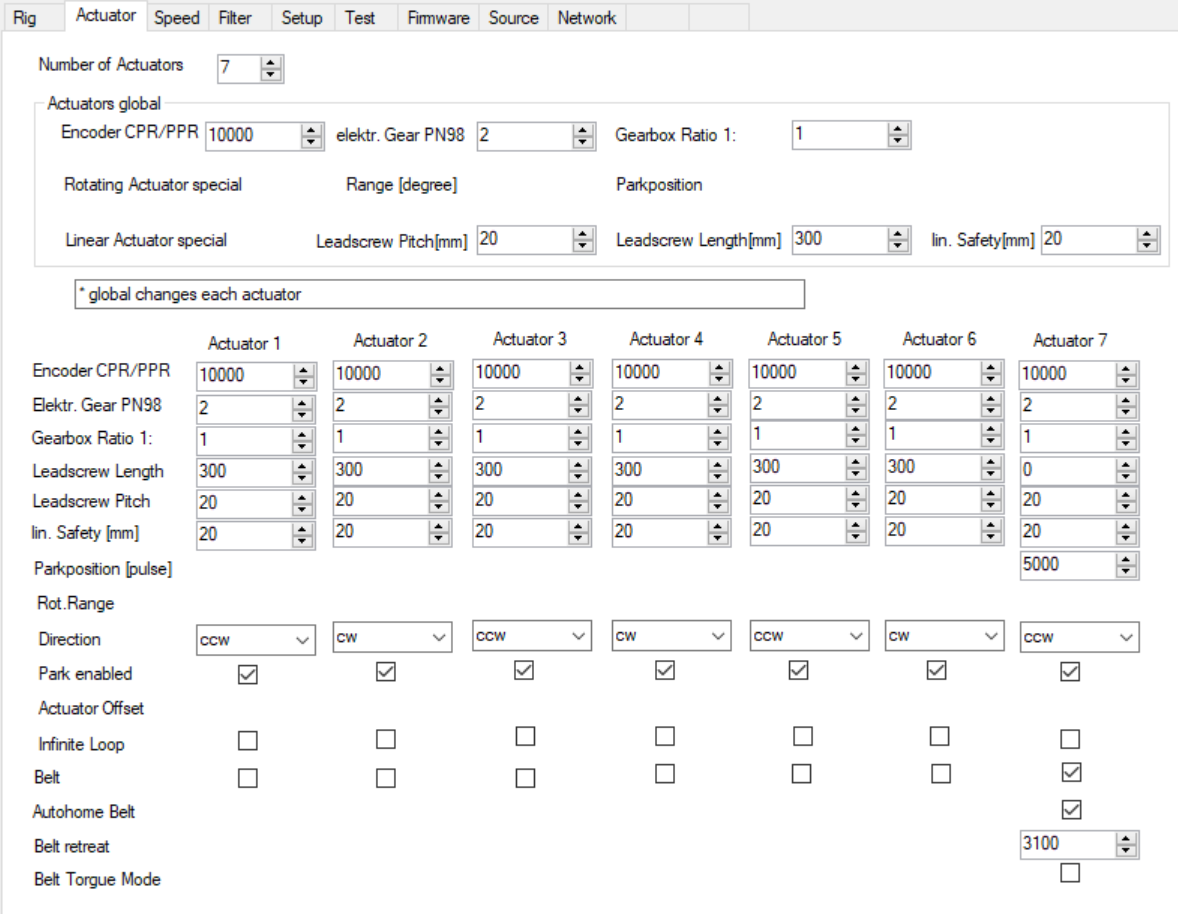
If all settings are done turn encoder to the rigth until you have a menu
entry called „back“ , activate by pressing the encoder button. Repeat
this until you have the upper menu and the last entry by turning to the
rigth is „save and return“. Press encoder button to save the settings to
eeprom. You have to use this function everytime you change values. - Only in the first run you should repower the controller , when all
settings have saved then execute the reset option in the prestart menu. - Now power the actuators.
- After controller reboots “push encoder for homing”.
- The actuators should now searching for home position. They are
searching for a hard stop or running for home switch to trigger. Check
that all actuators are turning to the correct direction. If something goes
wrong hit the emergency button for stop. Change the settings and
repeat. Homing is essential for the controller to work properly.
The display shows :
X: for unconnected motors
H: for started homing sequence(mostly not visible)
P: for homing motors (preparing)
!: found homing referenz ,running to park or safety position
R: for Ready - If they are ready , the display shows „R“ for each actuator. You can
switch off the online switch. If the switch is already at off position you
can switch online and the actuator moves to standby position and is
ready for recieving data. - Check the range oft the actuator carefully so that the selected values
causes no hard crash of your hardware - read the manual carefully, if you have problems contact support.
- For easier configuration there is an Dashboard app. You can download
from here
Close all Serial scanning apps like SRS. If the app won´t connect to Controller please try following. Remove all unneeded USB-Serial Devices and deactivate Bluetooth –Serial Devices. If changes were made in the Configuration you always have to „Transmit“ the data to Controller.