Here I explain how to configure and operate the SFX100 or SFX150 actuators with the M4S controller. PT Actuators actuators can also be configured in this way.
Please follow and verify the following steps.
First, the servo drives need to be configured. Please note that there are some minor differences in setting up the drivers for the Thanos AMC Controller or Simfeedback controller.
The controller can be connected to all servos with a DB25 connection. It is also possible to create custom adapter cables. Inquire about compatibility.
AASD-15A Servo Settings:
Push MOD until you see Pn000. This enters the parameter mode.
Change and check these settings on all motors: Pn8 = 300
Pn9 = -300 PN24 = 100 …. here it shows that you can reduce the torque for the homing to better protect your actuators. I set PN24 to 50-80%.Pn51 = 3000 Pn51 = 3000 Motorspeed (2500 or 3000 mainly) Pn52 = 1 Sigin Port 1 Servo enable. Pn60 = 2 Sigout Port 1 Servo ready. Pn61 = 6 Sigout Port 2 Servo Treach.
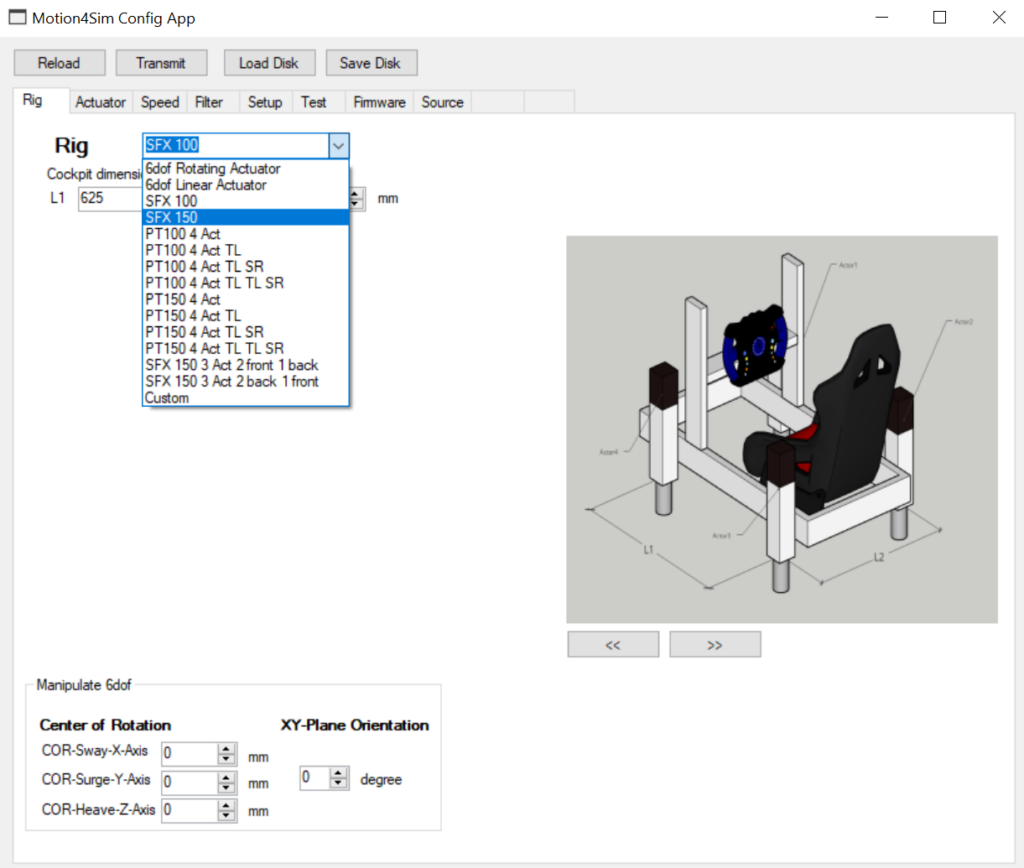
first do a factory reset to “linear Actuators” for that, restart the controller either by plugging in the USB cable or manually triggering a reset on the controller.
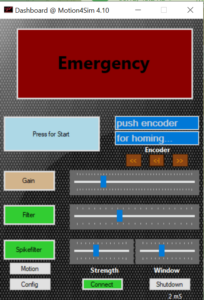
Wait until the controller has started and displays “press encoder for homing.”
At this point, please turn the encoder to the left until the display shows “Factory Reset linear act.”
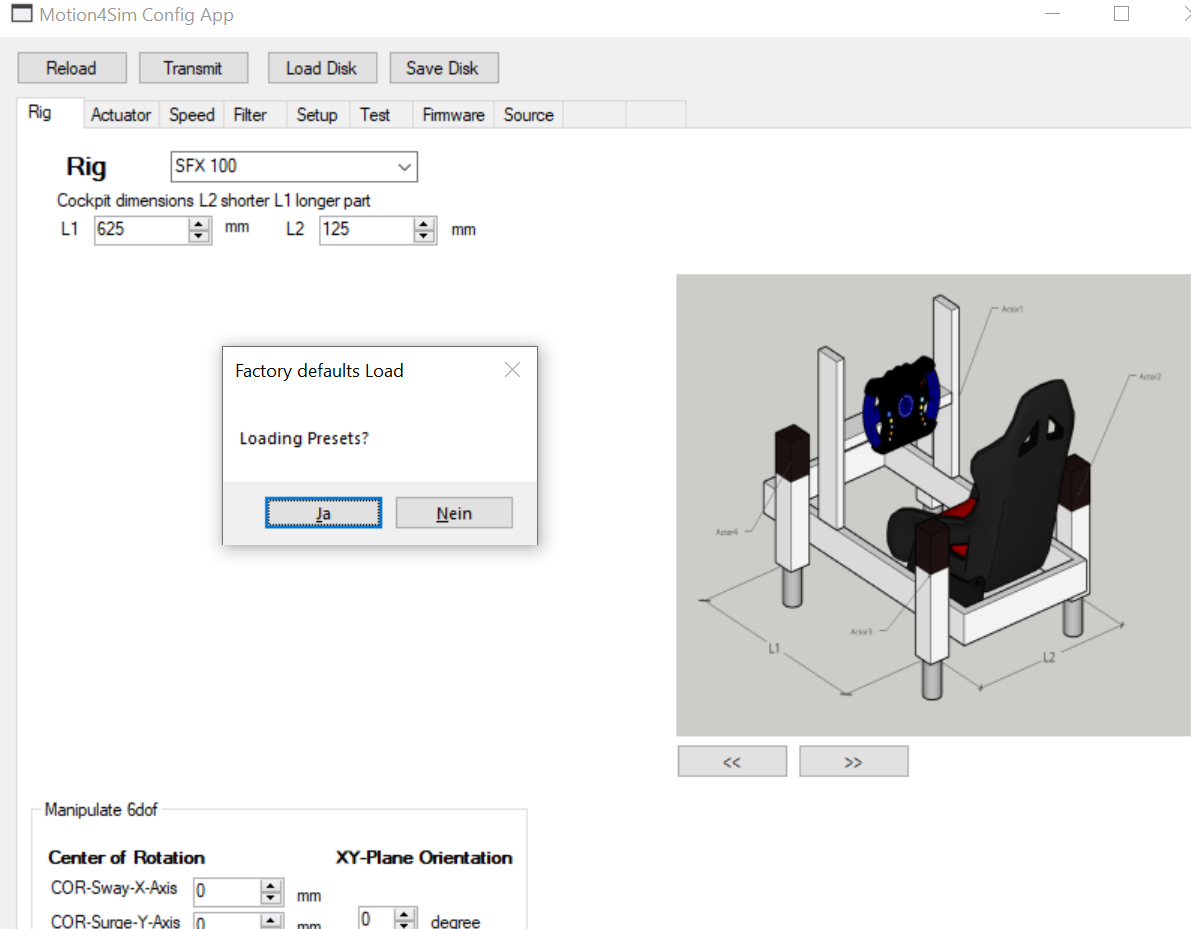
Confirm this option by pressing the encoder. The controller will perform the factory reset and restart.
The basic configuration for the SFX100 actuators has now been loaded.